Project managers and schedulers using Oracle Primavera P6 software can optimize its use in real-world planning scenarios. P6 is a great tool for creating a project master schedule that documents all the project activities in the expected duration. The ideal conditions for P6 scheduling include getting the real drivers of the project into the planning scenario and graphically depicting the interrelationships and duration of all project activities.
Project Master Schedule & Schedule Control
The development and maintenance of detailed project master schedules in P6 for all phases of the project are critical for delivering construction projects. Schedule management starts well before construction begins in the planning process. All aspects of the design and bidding phase must be planned to avoid delays in beginning construction. This requires experienced planners and schedulers to lead the development, evaluation, and maintenance of design and construction schedules.
The Planning Process
In the planning process, the project manager is looking at the big picture prior to having all the details. The project manager considers all the obstacles with the goal of getting project buy-in in the early stages when funding may be an issue. A more detailed schedule can be created after the planning when the full set of documents is available.
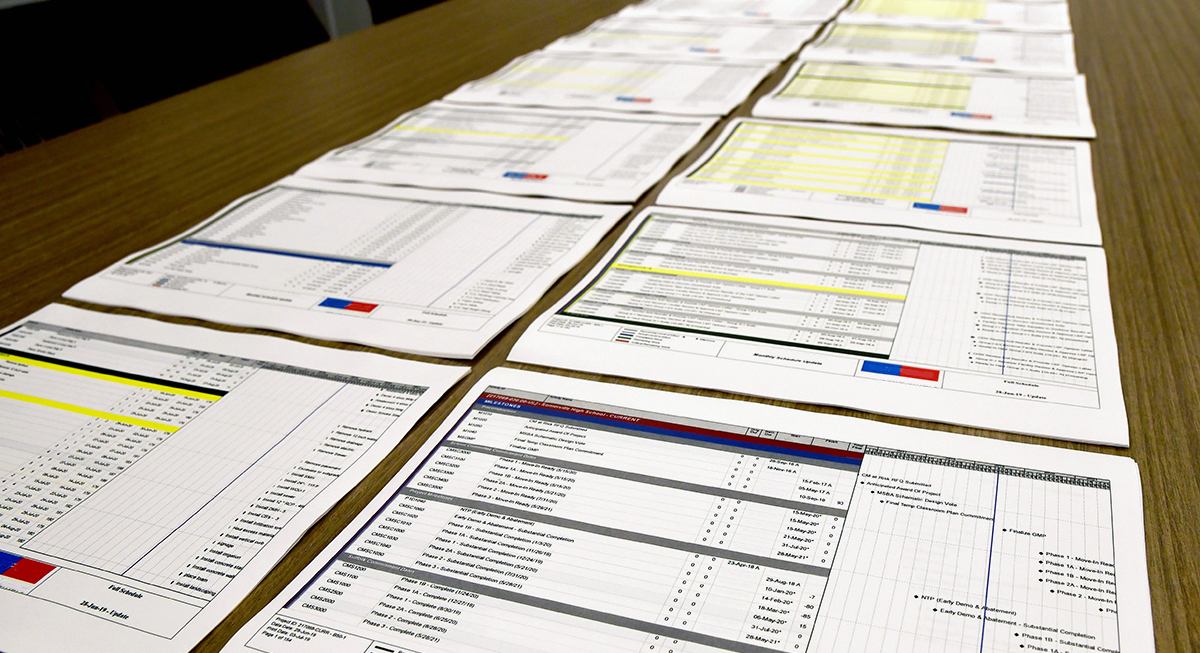
Example 46-page P6 schedule
At the onset of the project, the planning process requires overall general knowledge of the scope, phasing requirements, and the deadlines for contracts, drawings, and the involvement of subject matter experts. Working from the owner’s side, planners and schedulers talk to those who can help move the project, especially if they have done it before. As a planner, getting the required level of detail from all the stakeholders is sometimes a challenge. For example, it may be difficult to pull the information you need from all of the crews working on the project. The more involved the stakeholders, the better the preparation and transition into the schedule will be.
Project managers appreciate alternative tools like NetPoint for planning, then turn to P6 for actually scheduling and tracking the progress on the project. P6 also works well when dealing with multiple projects or programs. When planning the project and creating the initial schedule, it’s important to be able to see the results on one page or screen. With this priority in mind, PMA developed NetPoint to use in interactive planning sessions and to communicate the schedule to project teams.
Case Study: Mitigating Schedule Risk Using NetPoint
Learn how NetPoint was used to better analyze, understand, and share the delay sources for risk assessment of a complex $1.2 billion transit project that was behind schedule with three years’ work remaining.
Engaging all mindsets
There are multiple ways to smooth the mindful transition from planning to scheduling. Many people relate better to easy-to-understand graphics. Non-schedulers may be overwhelmed by schedules in P6 due to the level of detail. Presentation requires multiple pages and screens to view the full project, making it difficult to perform the calculated process of creating the schedule in P6 in front of a room. NetPoint helps pull people into the discussion and clearly shows the “this needs to be done before that can ever start” relationships in a graphically impactful and abbreviated format. The critical path is clearly revealed via the Graphical Path Method. Using both P6 and NetPoint helps create presentation conditions that are engaging for all mindsets.
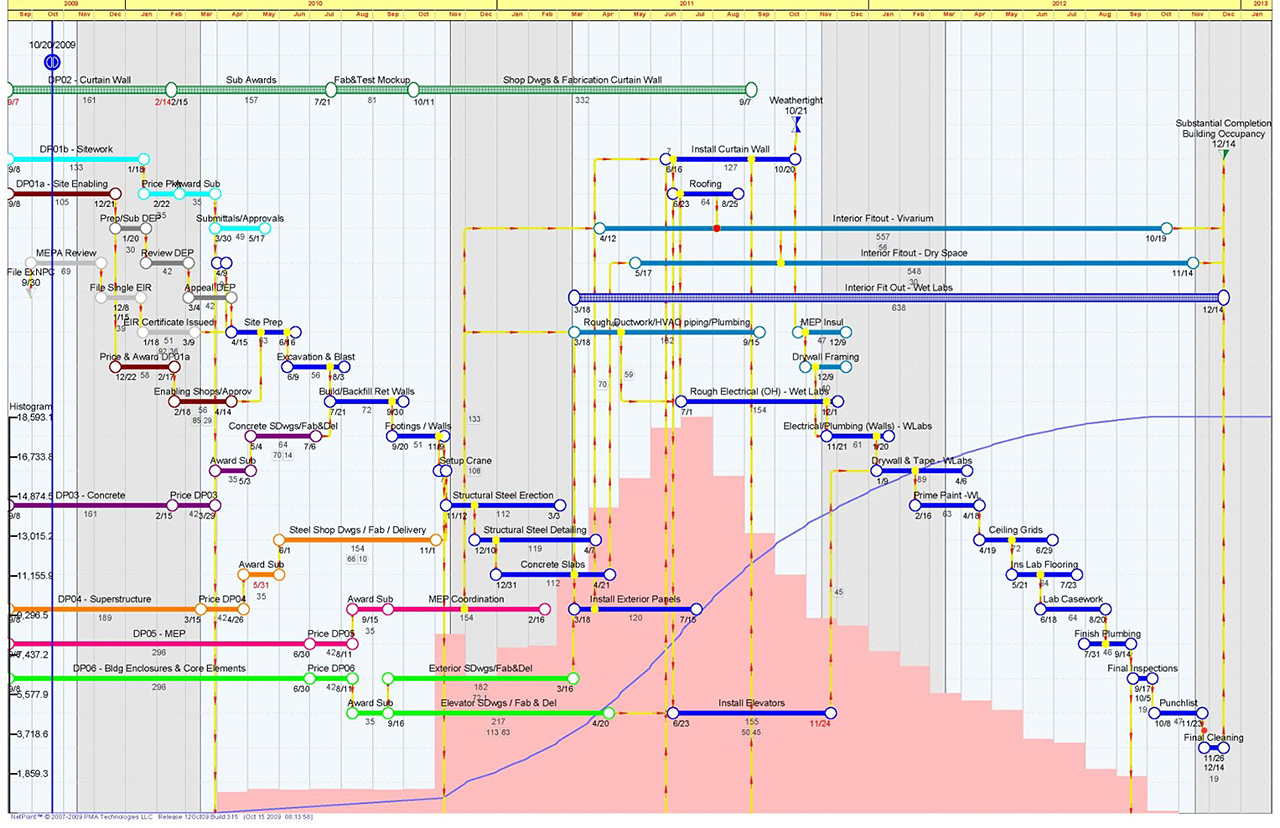
Example one page NetPoint schedule
Suggestions for aiding in the communication between Planner/Scheduler and Project Team
- Maximize communication with Both Primavera P6 and NetPoint built-in functionality
An effective communication tool in both P6 and NetPoint is the ability to attach a picture to an activity. This aids in communicating items of interest to the project team that better enables their understanding of the project We have also found attached pictures to be very helpful in demonstrating actual unforeseen conditions which may be a barrier to timely completion for the whole project team. - Meaningful activity IDs and codes
Meaningful activity IDs and activity or project code assignments are essential and correlate with how schedulers will organize, filter, and sort the data. The IDs must be smart enough to contain vital information such as the building site, and area. - Informative activity description
When schedulers look at the WBS, they have to know where the activities are occurring. Schedulers consider this beforehand, but also assign IDs and codes as they go along. They also customize the codes to get information more easily in whatever environment they find themselves. - Systematic categorizing of activities
In a large-scale environment, with say, 30 schedulers, it is important to create keys to the activity codes and names so all of the schedulers know what each refers to. P6 also enables the scheduler to sort in multiple modalities. For example, there may be excavation going on in 10 different places in the project, and these may be sorted by building, by area, or by the excavation activity.
Exchanging Information Between NetPoint and Primavera P6
Project managers can initially create a project plan and build Level 1 or 2 schedules in NetPoint. The benefits of using NetPoint for the planning sessions include collaborative planning, interactive and real-time interface, intuitive logic display, planned dates, and self-healing data during schedule changes. The schedule created in NetPoint during your planning sessions can subsequently be imported into P6.
Baseline schedules
Project schedulers often say that they live and die by their baseline schedule. The true baseline is recognized as the original agreed-upon document to which schedulers plan; other baseline reference schedules are used to track progress. Baselines are typically created at the point during the project when you need a benchmark to compare future progress against or you need to perform what-if scenarios. A best practice is to baseline the initial schedule so you can measure performance as the project progresses through time. In Primavera, it is easy to create, assign, and maintain a baseline schedule. Baseline schedule functionality in P6 also includes the notes feature on the WBS activity and other visual aids.
Creating the baseline schedule.
The baseline is created by mapping the scope of work as expressed by the design documents and interactive planning sessions to estimate schedule activities. These activities are then assigned durations and logic ties, and external and internal restraints among the project activities are identified. Targets and milestones against which to measure progress are then developed. Schedule coding is established to facilitate the breakdown of the work into different views or layouts. This coding allows the creation of multi-level reports and information that can be tailored to provide various levels of management with the degree of detail needed. It also provides the needed single point of accountability for each element.
How NetPoint aids Primavera in creating these conditions
Adding NetPoint to P6 functionality allows project schedulers to immediately see the critical path and receive instant feedback on where their project may be going off track. NetPoint adds its visualized schedules and fully interactive planning to the schedulers’ toolkit so that project managers can make realistic plans.
NetPoint also provides a critical path model by graphically depicting network activities, displaying float, leveling resources, and much more. NetPoint has transformed the practice of full wall planning sessions by providing an interactive and graphic platform for collaborative planning. It provides the ability to link activities graphically and illustrate critical dependencies on a time scale yet keep the network model easy to understand. Therefore the plan is simple to edit and the group can collaboratively explore what-if scenarios. All data is refreshed in real-time, showing the actual effects of network changes and their impact.
Finally, although you can do comparisons to the baseline schedule in P6, you can also use NetPoint in this process. NetPoint is great if you want to compare schedule variance and do a side-by-side schedule comparison. You can visually isolate the critical path to show the difference between two schedule updates. The ability to compare two updates within one document helps the project team and other stakeholders to quickly address any problems.